Selection tools
Magic Wand Tool
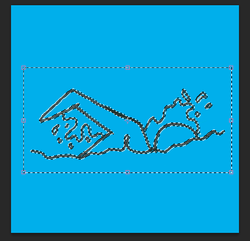
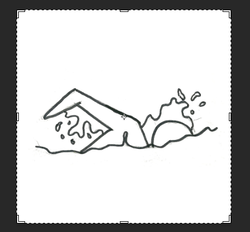
While creating my pictogram, I used the Magic Wand tool to fill in the inside of the image and leave the outline as a guideline.
While creating my pictogram, I used the Magic Wand tool to fill in the inside of the image and leave the outline as a guideline.
Working with Layers
Working with layers is something I have to do frequently through my work. Ensuring everything is in the correct place.
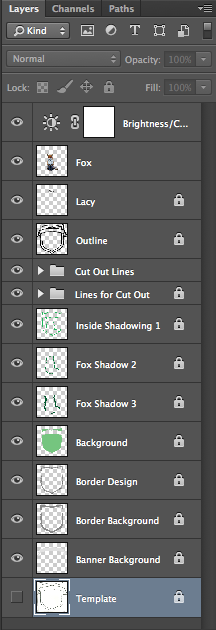
These are the layers I used to produce the House Logo for LO4.
As you can see, all the layers are in order depending on where they need to be positioned on the work area. All layers are named so the layer I need to work with is easier to find. Folders have been created for layers that I felt either needed to be grouped together or for many shapes. Each layer that I am not working with is locked to ensure that I go not accidentally alter it when working on another layer.
The Template is kept hidden from view in order for me to refer back to if I need to.
Opacity/Transparency
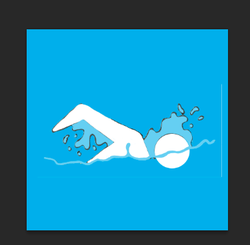
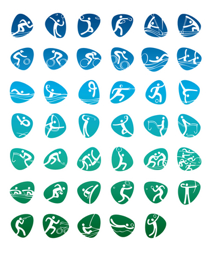
  | I usually use the Opacity when drawing over templates so I can dim down the image I'm drawing on top of so I can see my strokes. However, I used the opacity on the final Rio Pictogram Poster to make the pictograms slightly transparent to allow the poster to flow better. In my pictograms folder on the layers, I set all the pictograms to 84% transparent in order to do this. This was so the pictograms were still visible yet the background could still be slightly seen through the pictograms. |
Working with Filters and Other Tools
When producing my Final House Poster, I used a various number of Filters on the background image.
I began using the Crystallise filter to achieve to mosaic-like pattern.
I then used the Pinch filter to pull the photo in at the middle to distort it
Lastly, I used the Liquify tool to pull down the bottom of the photo to make it look like it was dripping down.
I began using the Crystallise filter to achieve to mosaic-like pattern.
I then used the Pinch filter to pull the photo in at the middle to distort it
Lastly, I used the Liquify tool to pull down the bottom of the photo to make it look like it was dripping down.


 RSS Feed